‘Vanlife’ is an alternative but increasingly popular style of living. Whether it’s full-time or part-time, the ideals that drive this lifestyle are usually the desire for minimalism and the freedom to roam.
The number of self-built campervan conversions have soared in recent years. Rhys was unequivocal in his desire to jump on-board this growing trend.
I was initially more hesitant. But honestly, could I really resist the temptation of living free on the road in a home we’d built ourselves?!
Needless to say I was easily convinced.
Having our Canadian visas approved provided us the perfect opportunity to take on this vanlife challenge. Both Canada and the States are a van-travellers dream offering seemingly endless opportunities for exploration!
This page is all about sharing our Vanlife experience, from tackling the conversion to answering that call of the open road…
Like many others that undertake such a challenge, we were primarily enticed by the ‘after’ part (actually living vanlife). It’s easy to underestimate the ‘getting there’ part, which was our case.
Rhys, with all his innocent ambition, first suggested it might take us 2 weeks to complete the conversion. While working full time, I might add. HA!
I’m sure you can guess from my tone that it took us quite a bit longer…
Luckily we didn’t have too hard a deadline in which to complete our campervan conversion. Just a looming ski season (6 months later) in which to get the majority of the work done.
Our lax attitude and approach to the conversion does make it difficult to determine just how many days or hours we put into our van. All I can say is that sometimes it felt like an eternity!
Vanlife: where to start?
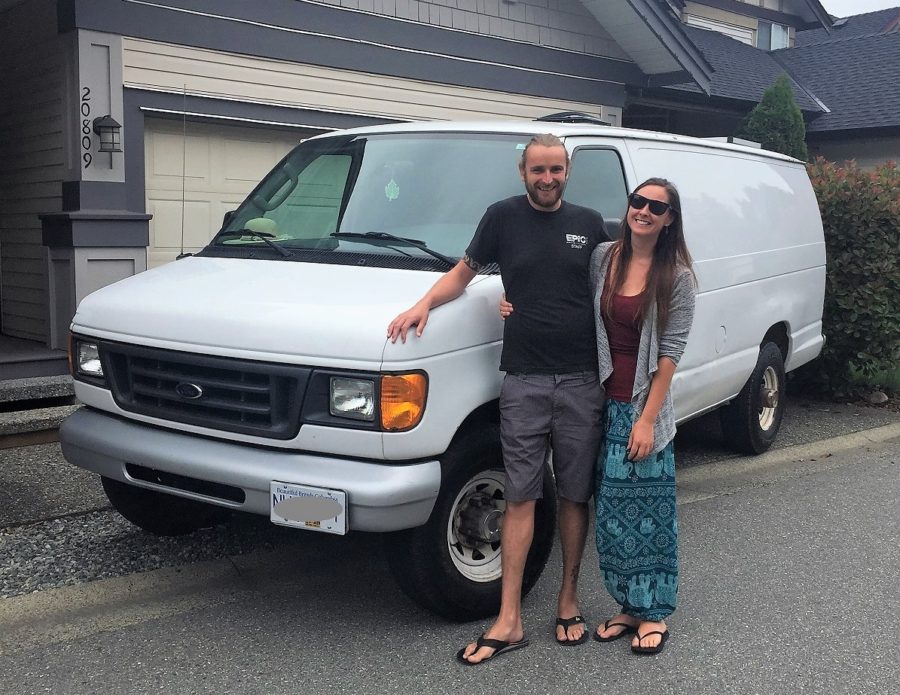
The first step was obviously buying the actual van.
Before buying, we (I really mean Rhys) did our best to do as much research as possible. We (again, mostly Rhys) read countless blogs, articles and watched several vlogs by those who had done it before us. Some made it look so easy!
Living in Vancouver, BC at the time, we ended up spending around $4,500 CAD on an extended Ford E250.
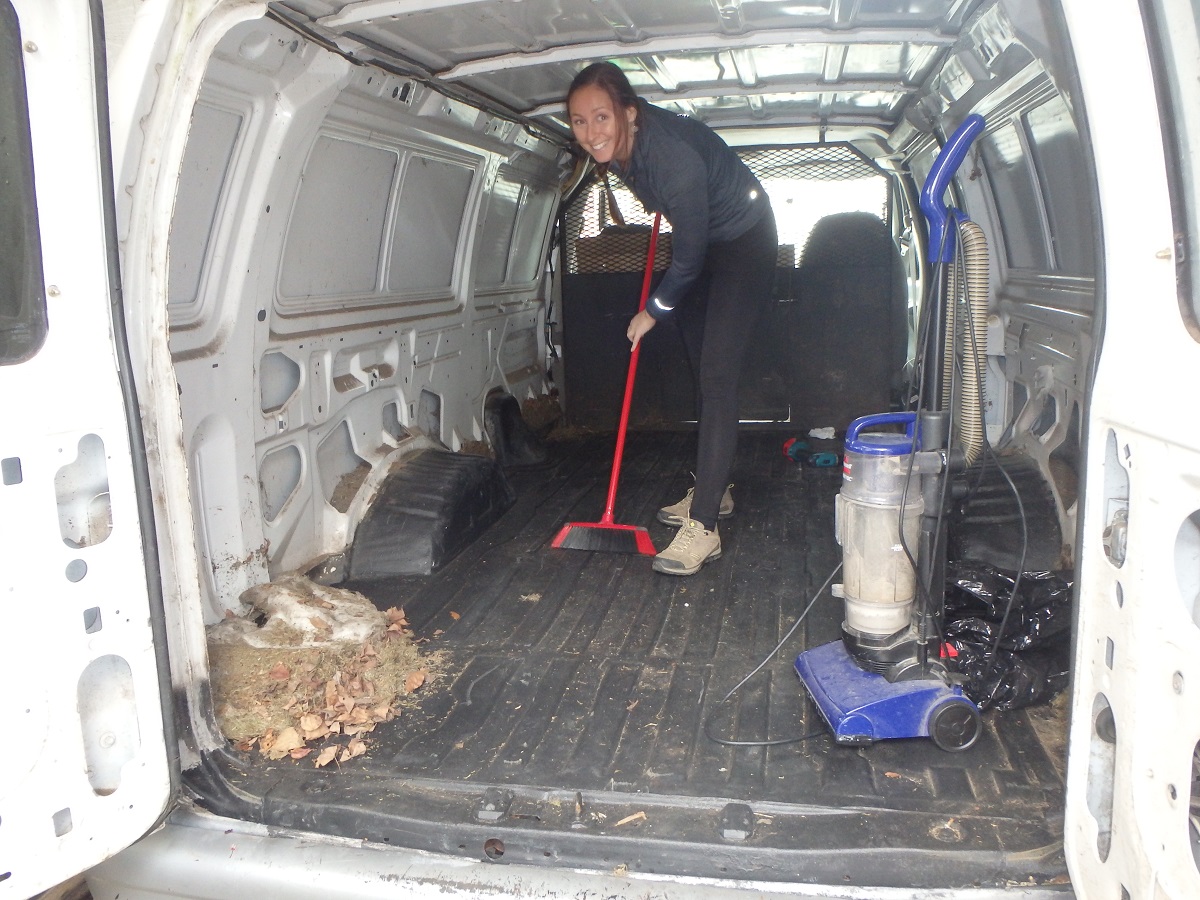
The next process was undertaking the campervan conversion task itself.
I was nervous given that we (particularly me) had ZERO experience in woodwork, joinery, design or anything that would have been advantageous to such a project. Good thing we both love a challenge!
A labour of love
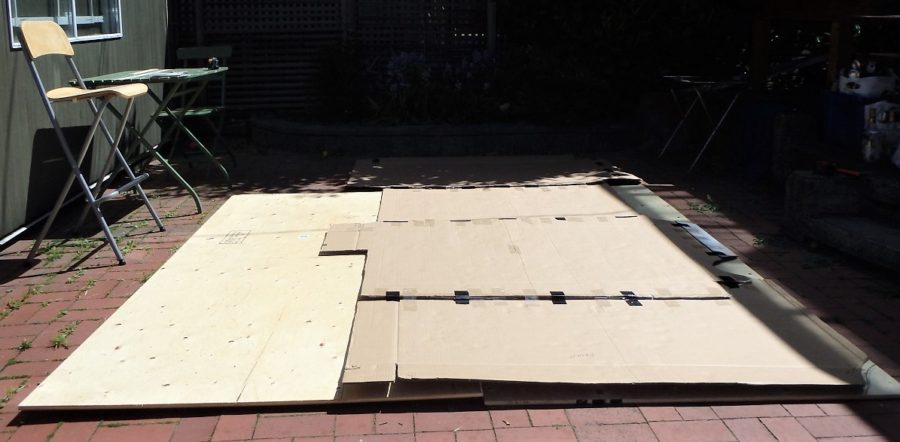
Then was the measuring. Oh so much measuring!
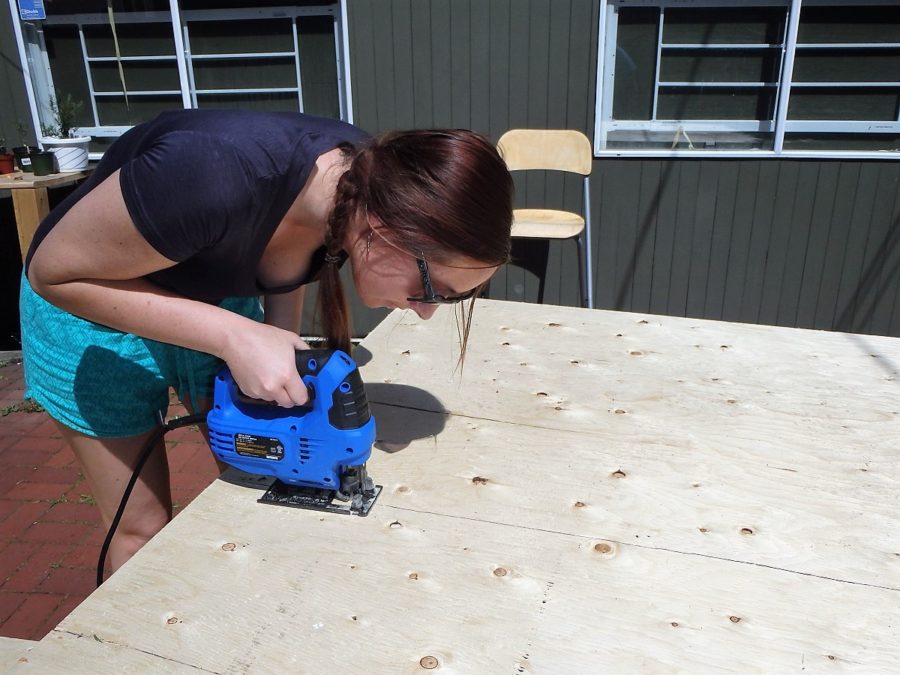
Then the cutting.
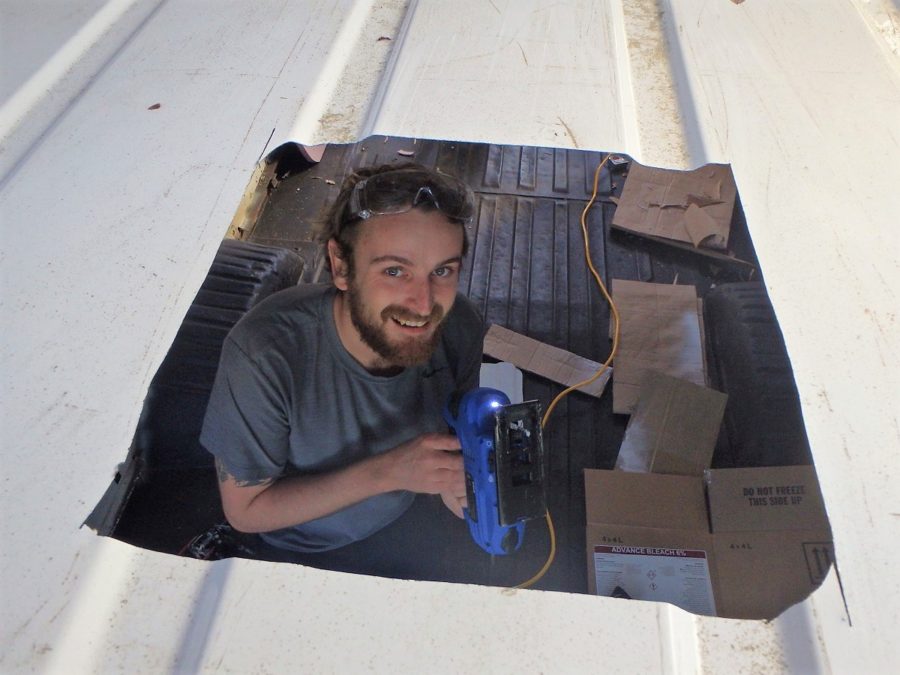
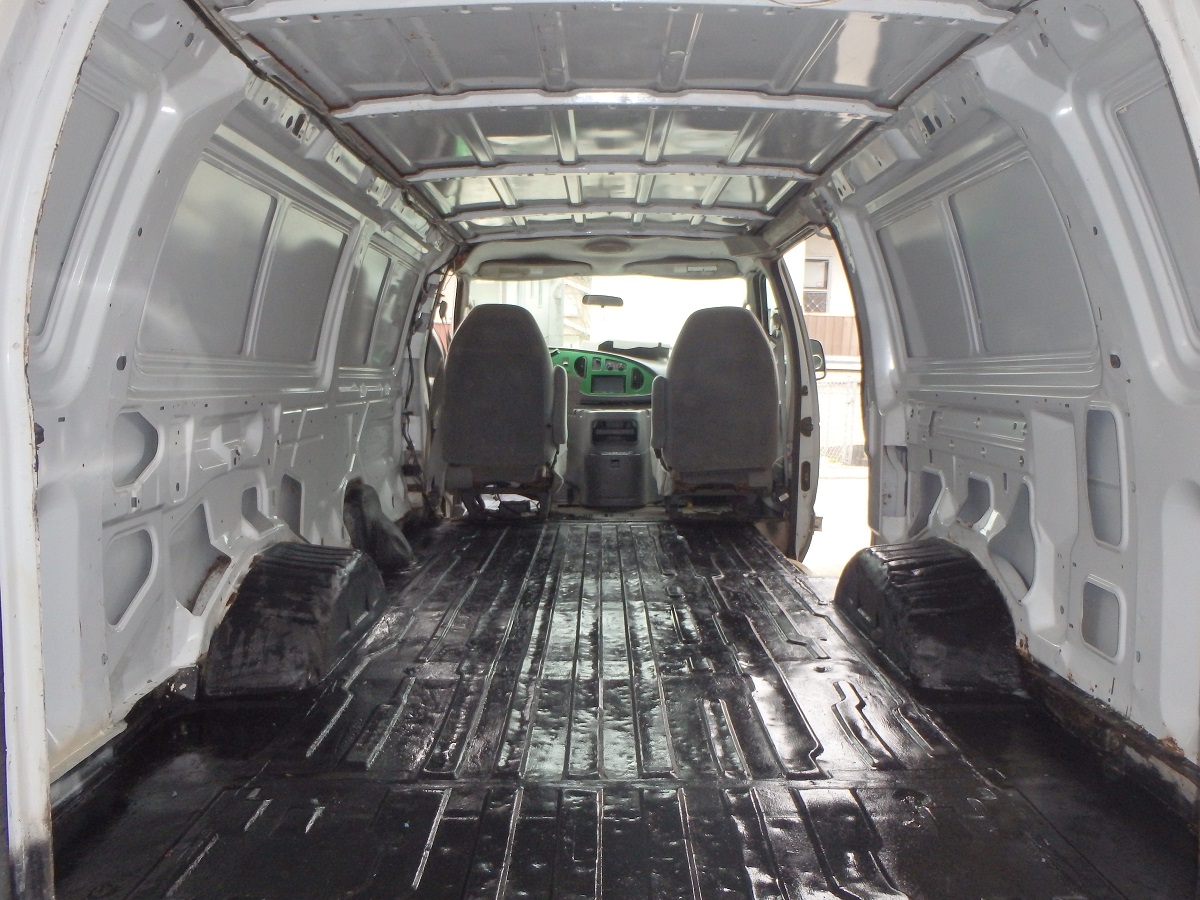
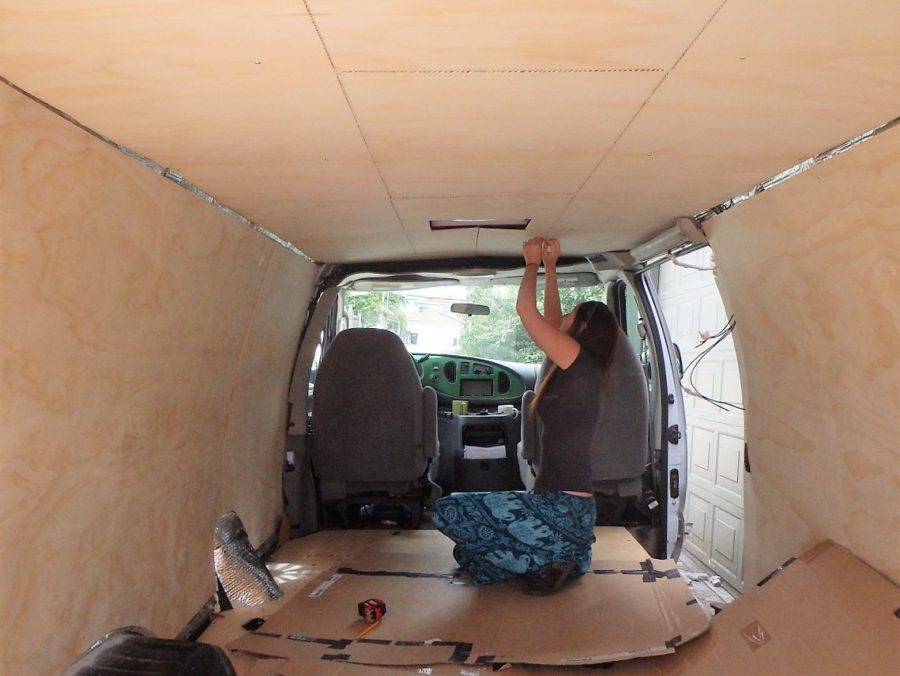
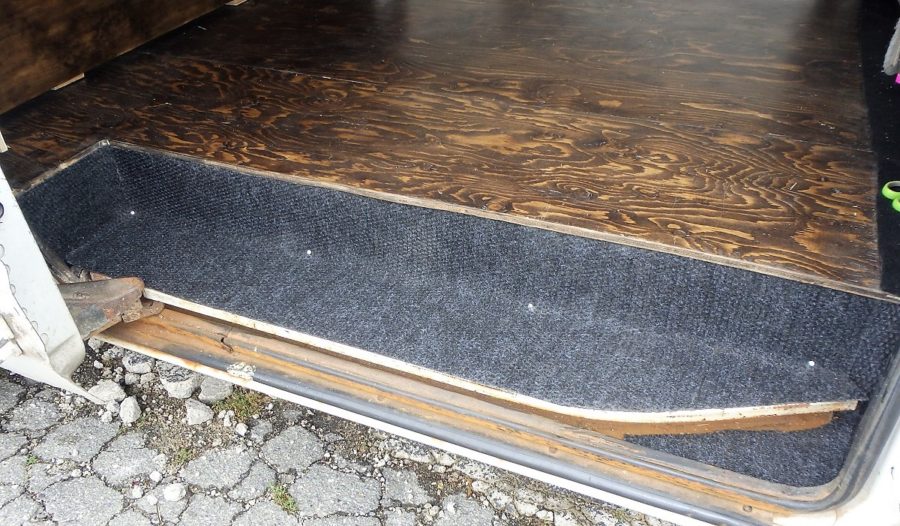
After that, the insulation.
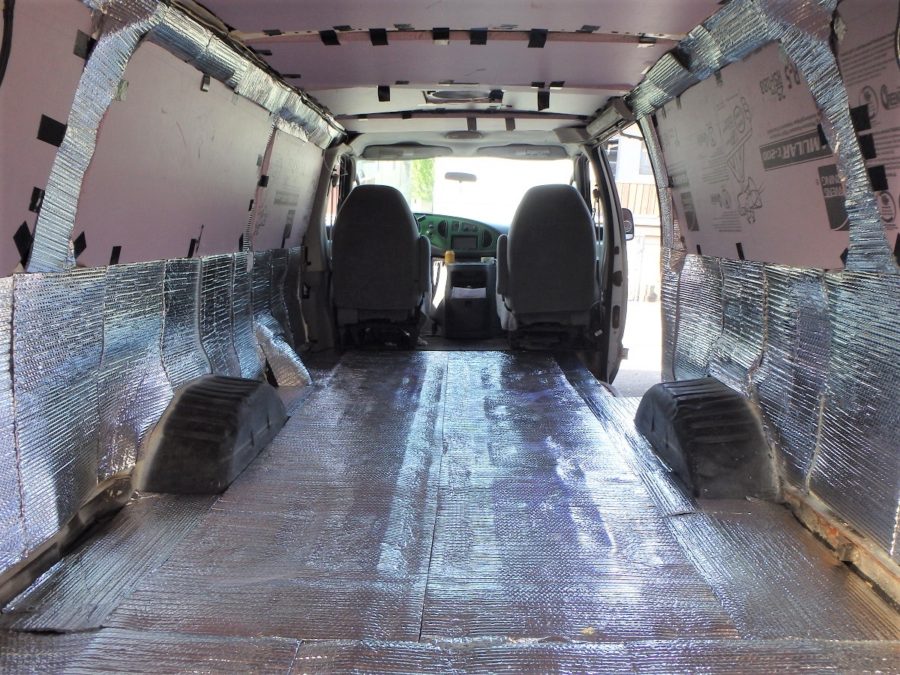
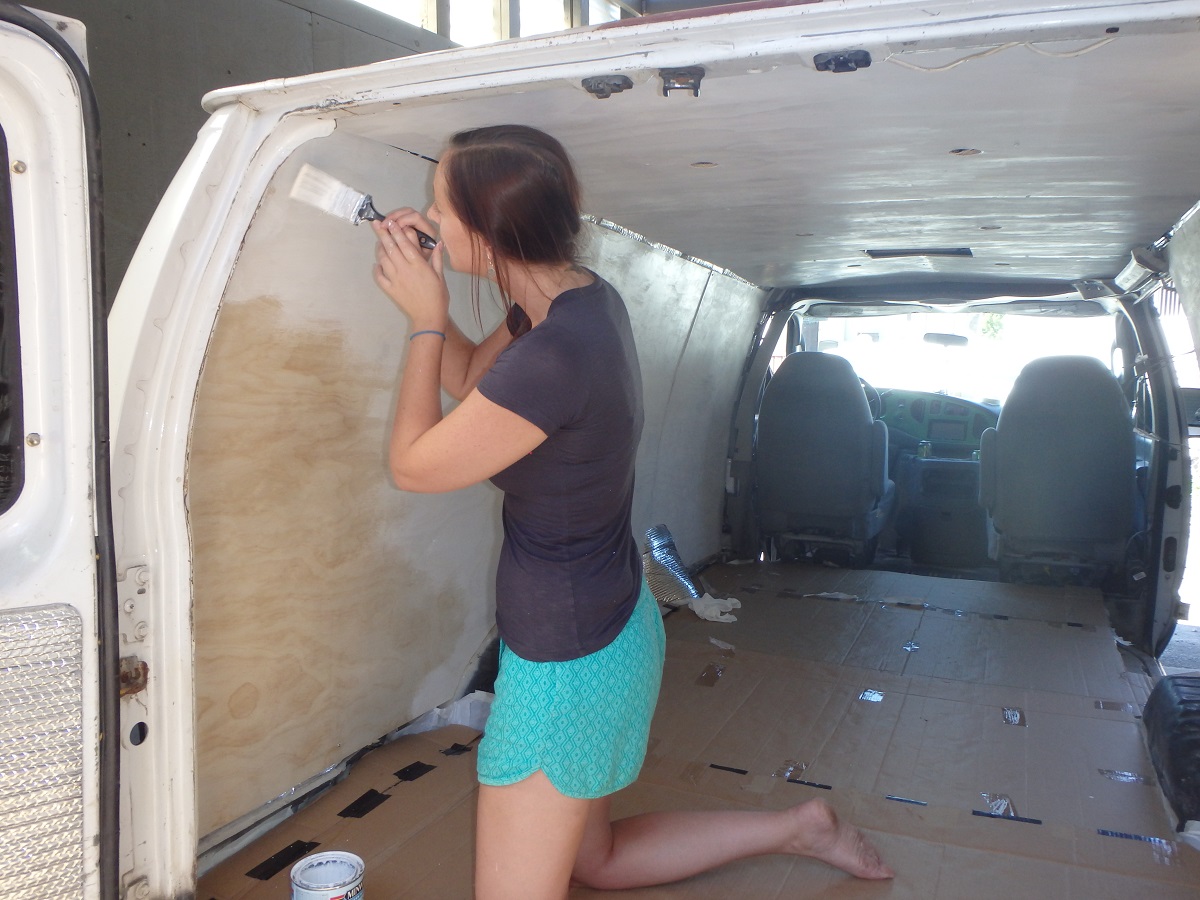
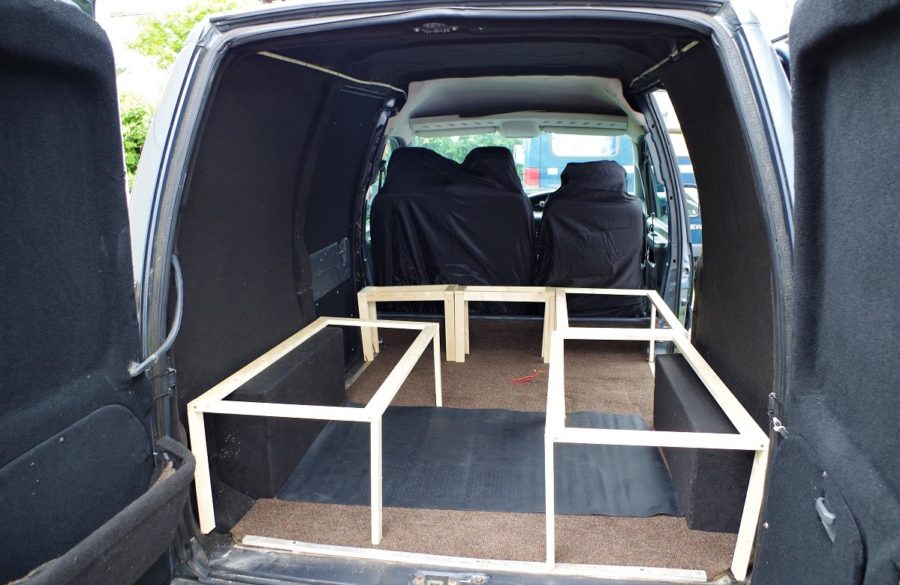
Next was the plywood. We bought standard 4′ x 8′ sheets using 5/8″ thickness for the floor and 3/8″ thickness for the walls and ceiling.

The one thing I did take comfort in knowing was that Rhys would have the electrics down (he trained as a sparky).
That said, we still didn’t think to install any of the electrics or even cables until after the plywood was up and secured. Not our finest idea. We had to spent a good while feeding cables under the plywood that would lead from the leisure battery to the power switches.
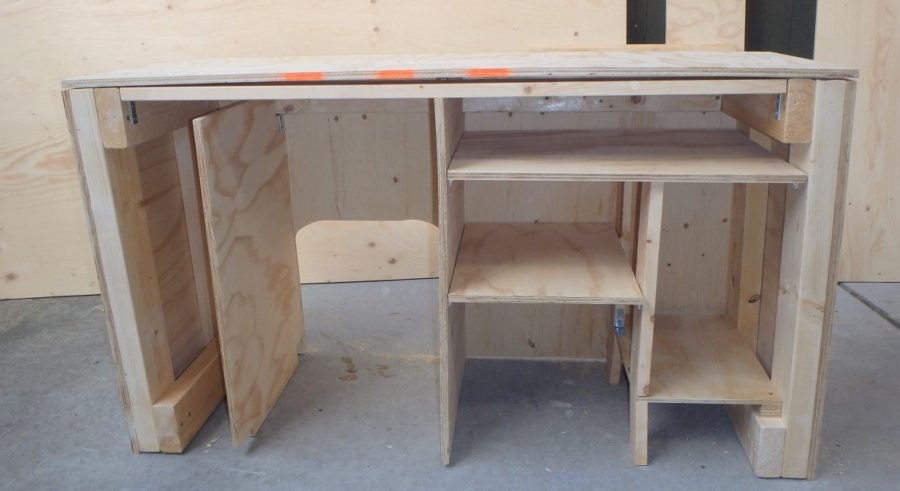
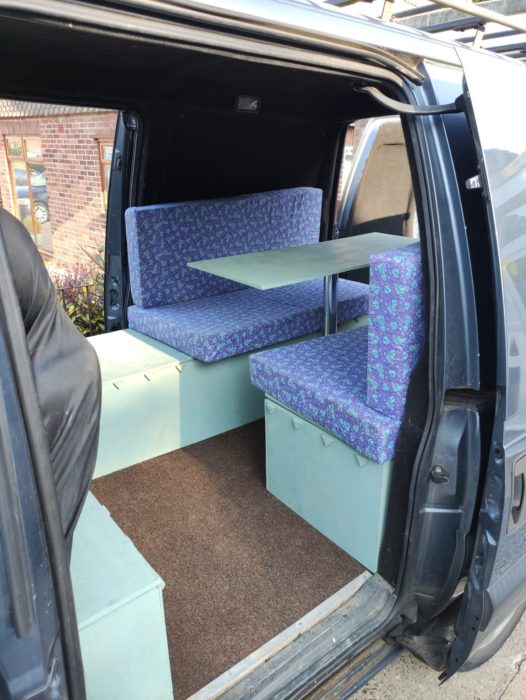
Interior aesthetics
Then it was on to more of what I personally consider ‘the fun stuff’…

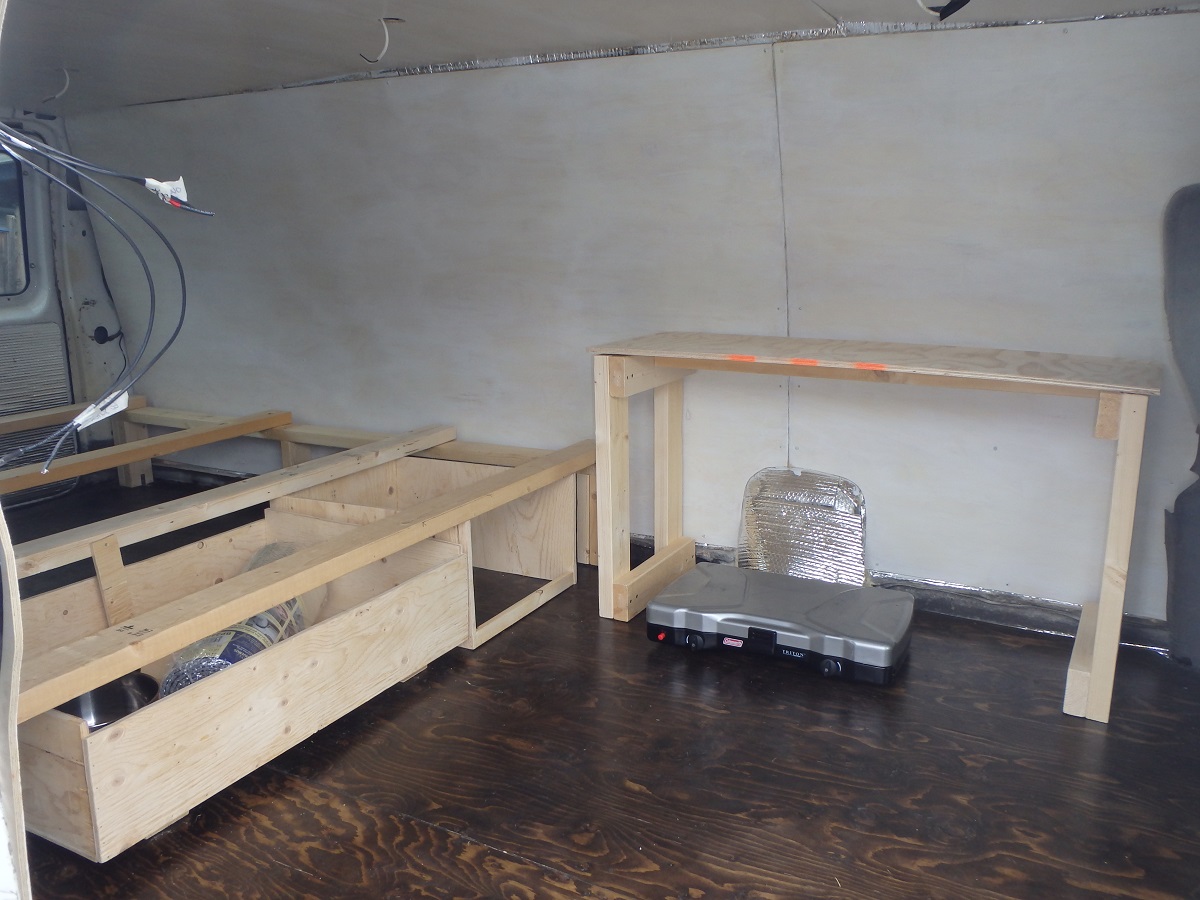
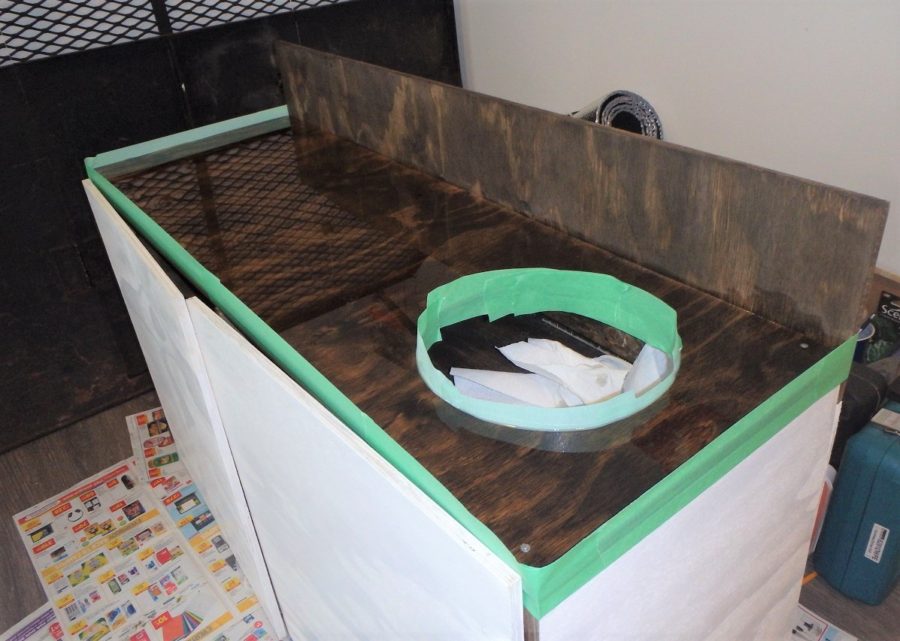
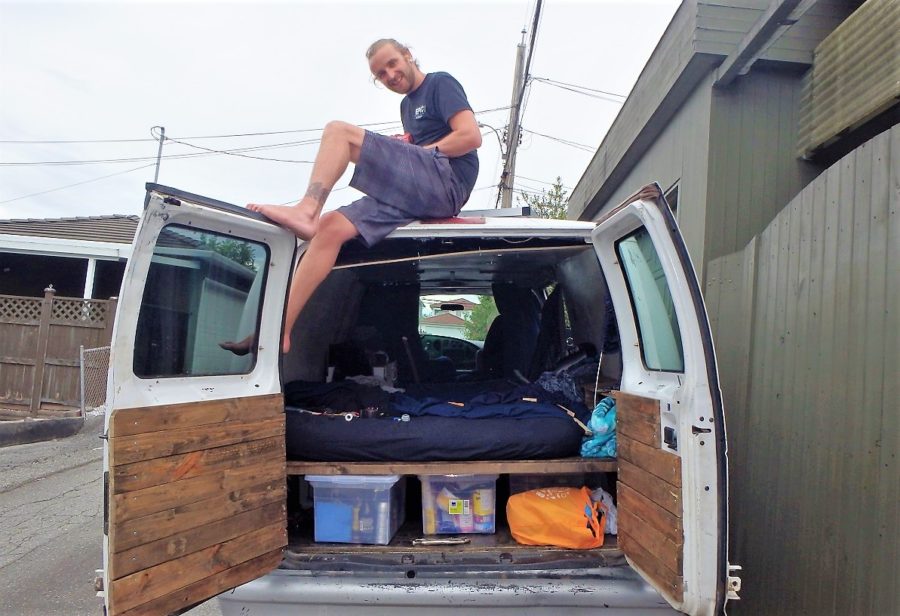
With the bulk of the interior complete, Rhys turned his attention to the wiring while I tackled the more aesthetic ‘finishing touches’: installing carpets, sewing curtains, cutting and staining pallet planks for the rear doors etc.
Finishing touches

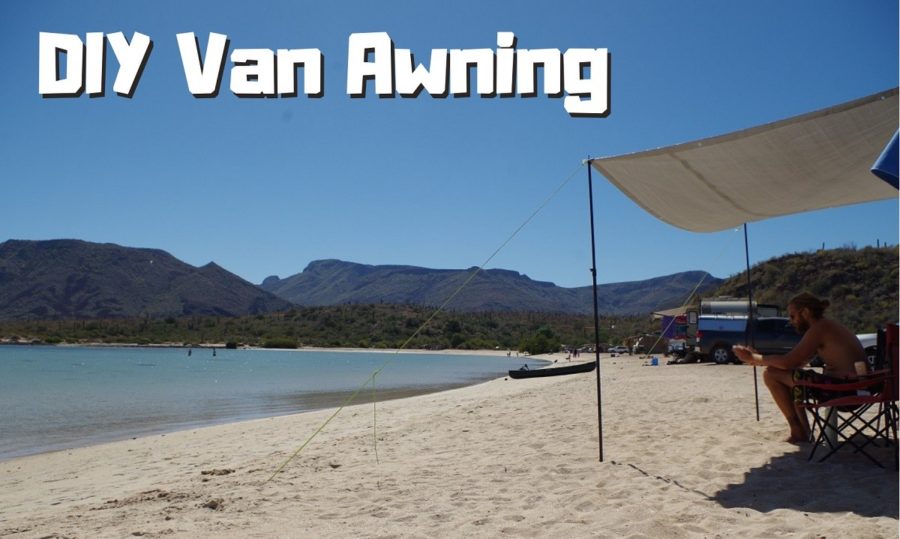
Oh, and we decided to install a solar panel. Right at the end.
I won’t sugarcoat it, it was A LOT of work.
It is probably the most physically and emotionally draining challenge we have done so far. Quite literally our blood, sweat and tears went into this vanlife project.
There were numerous frustrations over silly mistakes we made. We even got frustrated due to factors that were simply beyond our control.
But – on a more positive note – there were so many times when we completed a task, even surpassed our expectations, and it was so rewarding! These good days certainly made for some much-needed ego boosts.
Vanlife: Is it worth it?
For us, in a nutshell, the answer is a great big YES!
We were so proud of ourselves for undertaking such a mammoth task and even more so for doing a pretty decent job of it. Sure, she was a bit rough around the edges but we were first timers! And Rhys assured me that we would be far more critical of our handy work than anyone else would be.
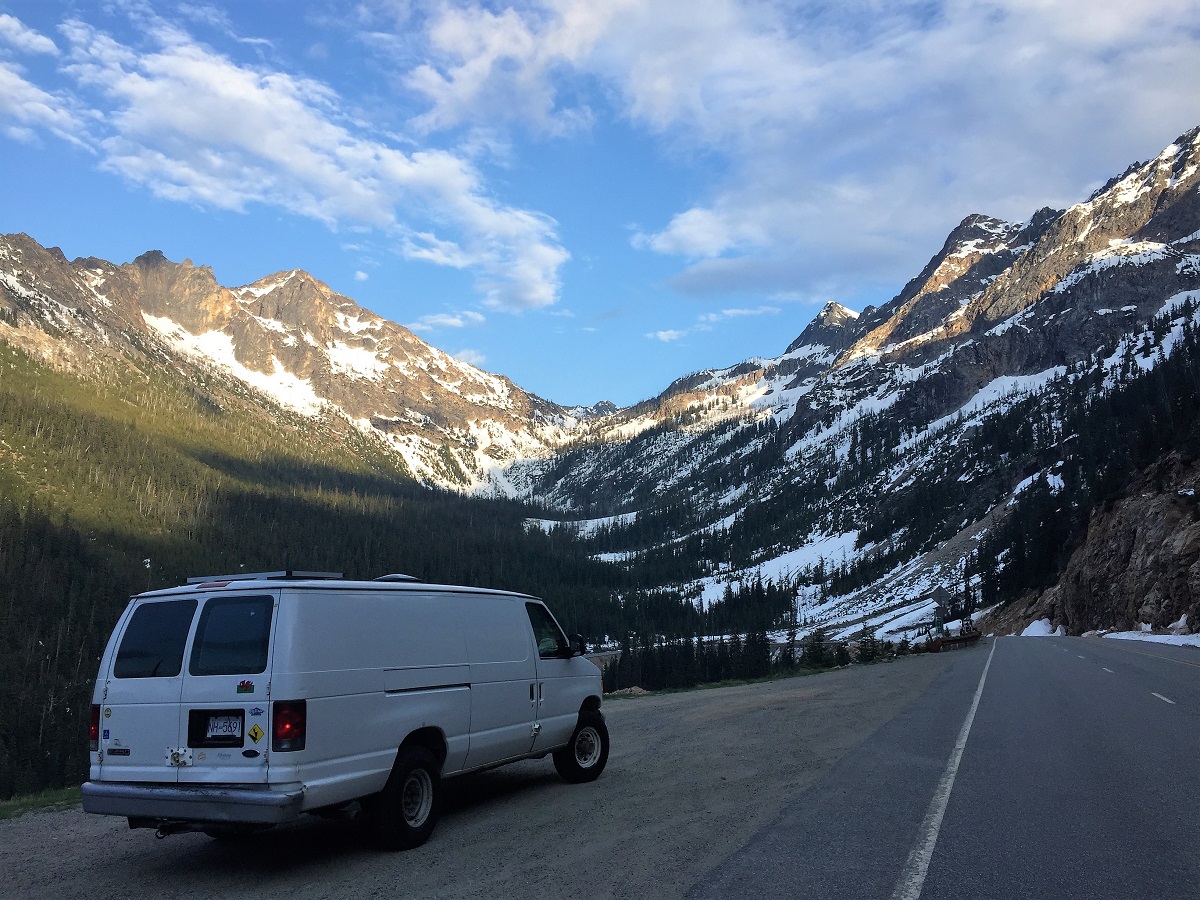
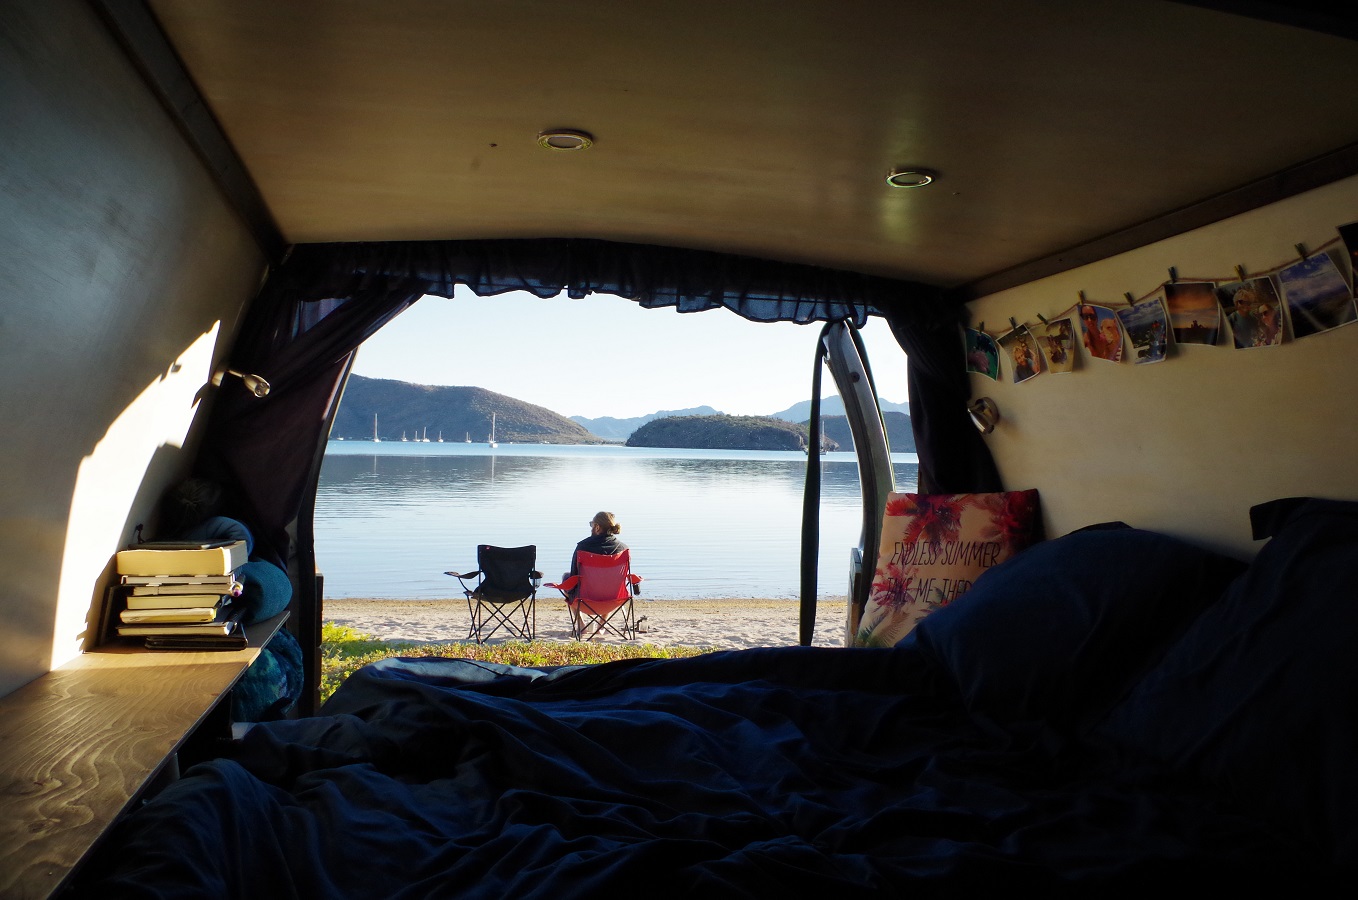
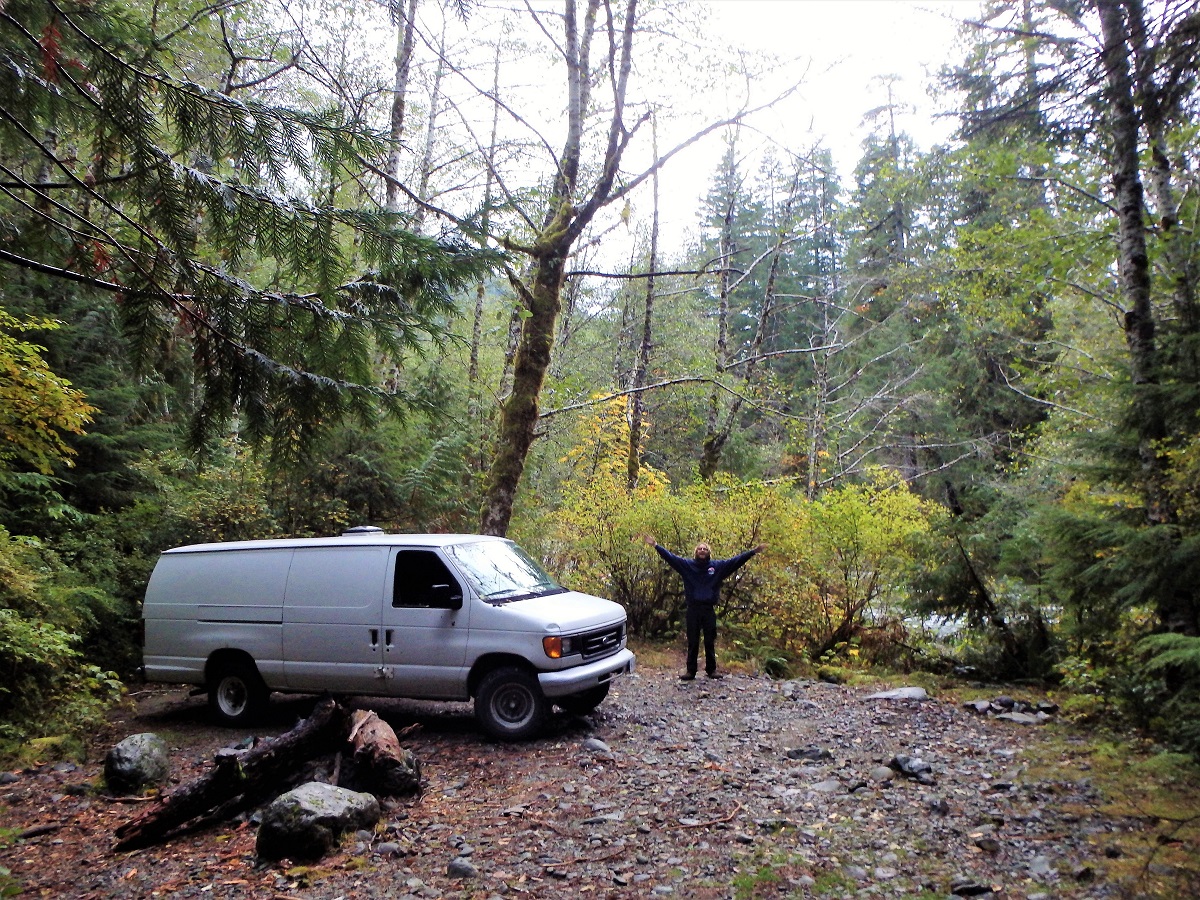
The greatest part, hands down, was when we actually got to live vanlife! We can’t downplay the adventure that was travelling in our own self-converted camper. I mean, this is why anyone does it!!
For others thinking about taking on the challenge, just do it! You never know what you are capable of until you try. And the reward will be worth it.
So where did we journey in our camper?
From May 2019 to March 2020 we embarked on a NINE MONTH North American adventure around Canada, the States and Mexico!
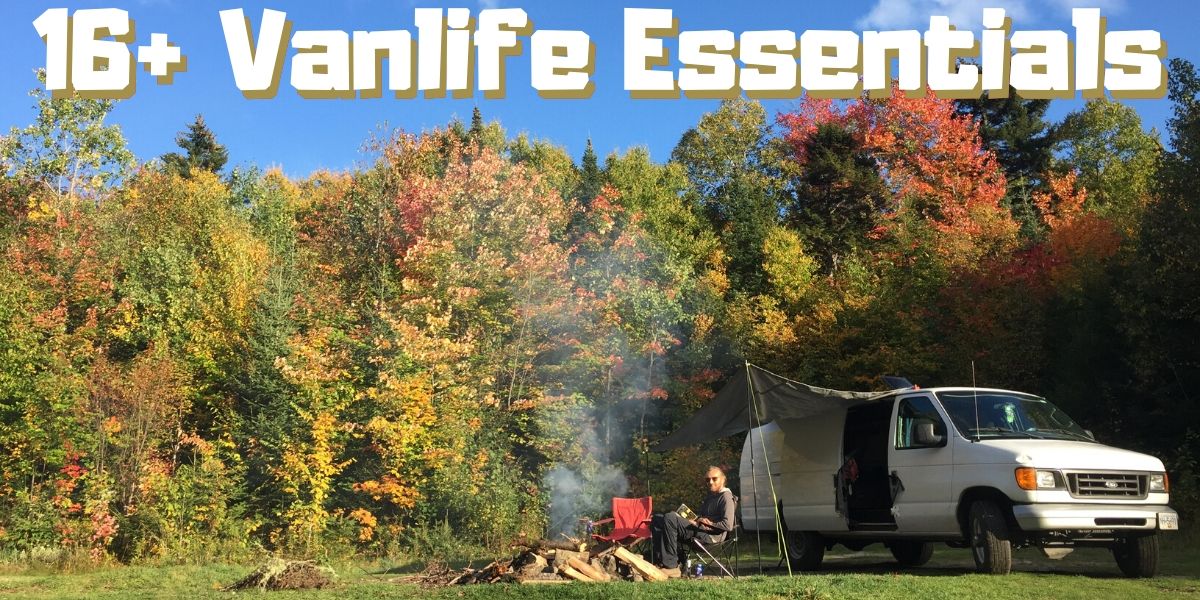
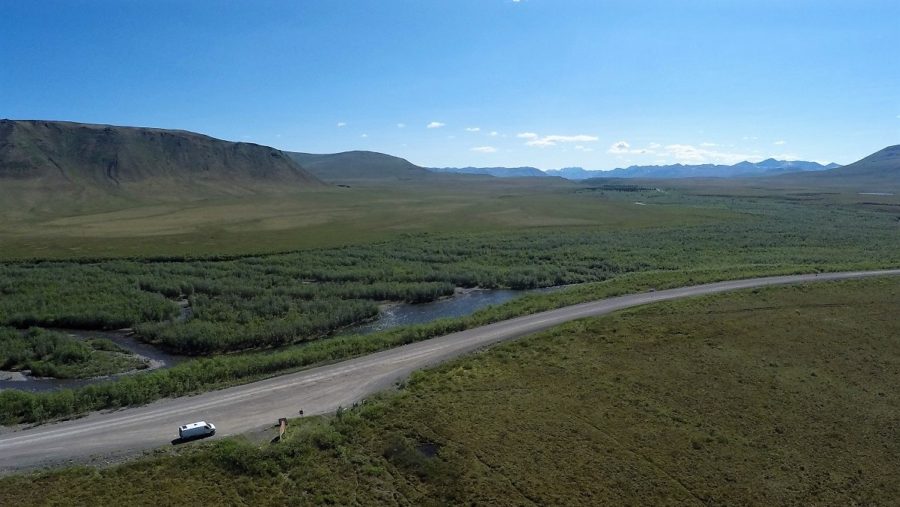
Beginning in Vancouver we made our way north as far as the Arctic Circle.
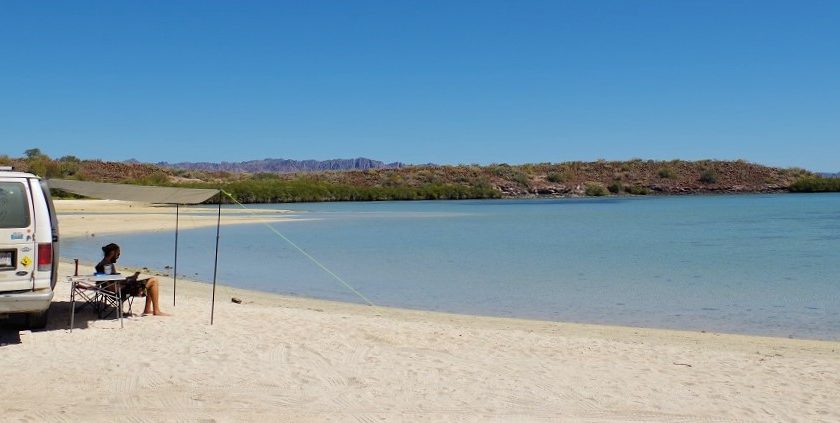
We then headed east to experience New England’s stunning fall foliage and south to seek some balmy winter sunshine.

Our adventure was surreal.
Since then?
Not ones to let a pandemic cramp our style too much, we returned to the UK in 2020 and converted a second campervan.
Since the creation of Daisy we have adventured around the UK enjoying road trips around Wales and Scotland; we seriously recommend if you get the chance!
Vanlife now
Due to circumstances we have had to take a break from our vanlife adventures.
I have no doubt the future will involve a third conversion. Unless Rhys gets his way and we switch to a sailboat, ha!
Regardless of where we end up we will always remain huge advocates for the vanlife community and strive to share our vanlife journey, so others might embark on their own.
See you on the road!
Check out our vanlife blogs…