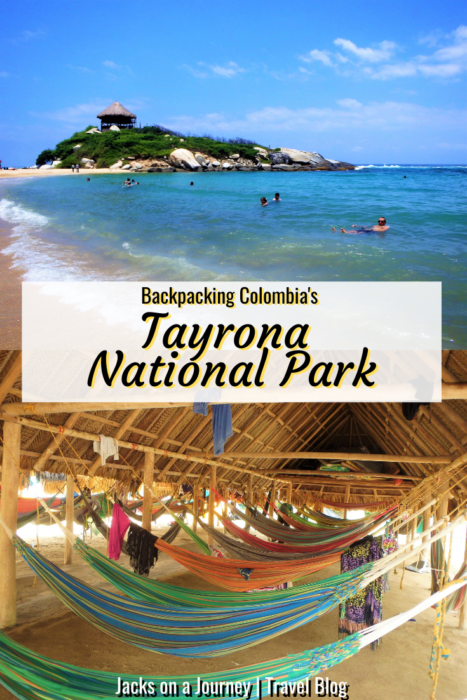
To experience a taste of Colombia’s raw, natural beauty we knew we had to head to Tayrona National Park.
This protected region is found along the foothills of the Sierra Nevada mountain, down to where they meet the Caribbean Sea. Backpacking down to those sun-drenched shores was nothing short of a dream!
How To Get There
The best way to reach Tayrona National Park is from the nearby city of Santa Marta. It’s around 35km away with regular(ish) buses running.
Santa Marta itself didn’t excite us, so we opted to stay in a (very) cheap hostel outside the centre. We were more enticed by the prospect of being along the bus route to Tayrona.
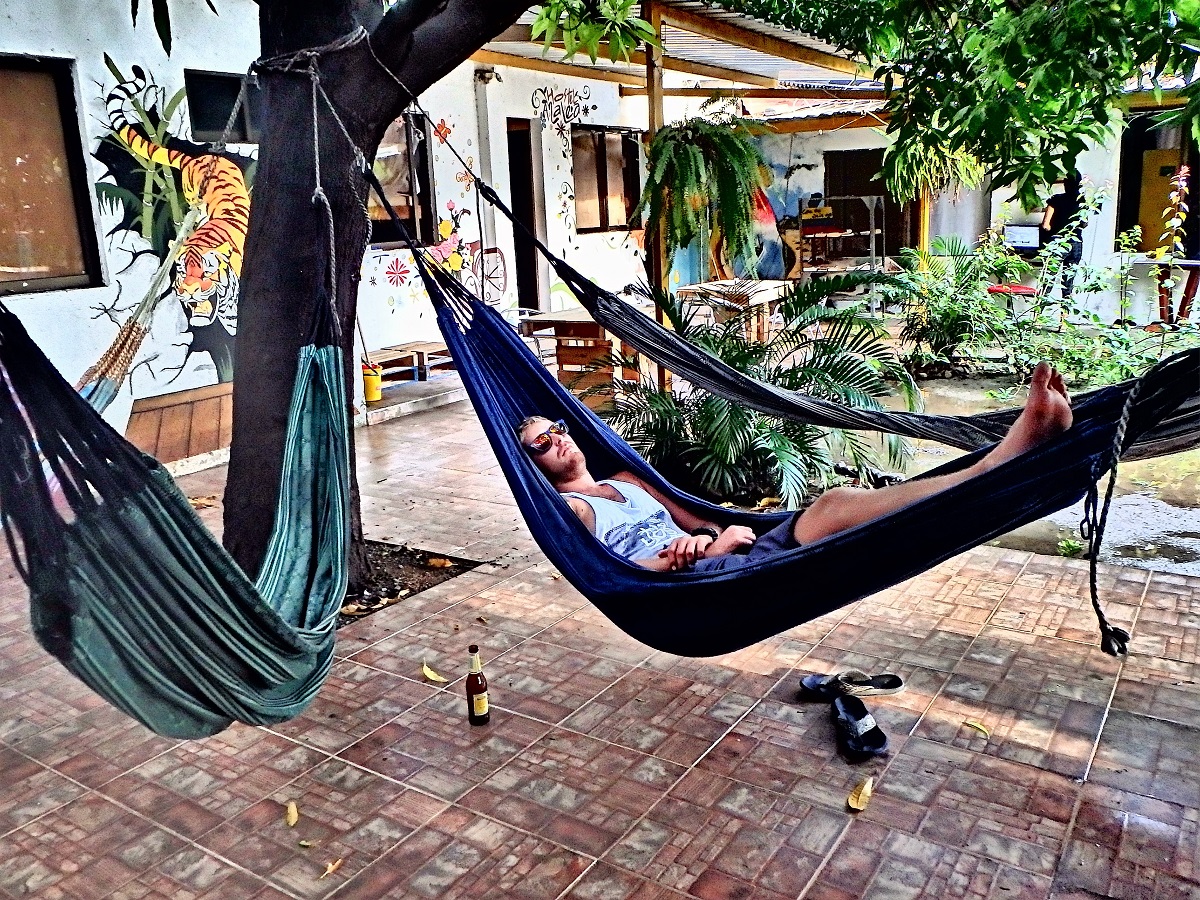
The hostel turned out to be a decent spot with a super friendly owner. Not only was he able to store our big backpacks while we were in Tayrona, he even let us shower when we returned at no extra cost despite not staying!
We (and by that I mostly mean ‘me‘) like to get as early a start as possible! This meant a 7.00am bus to reach the park gate by 8.00am. We planned it perfectly! Until we discovered I had messed up…
Entering Tayrona National Park
To enter the park, you need a form of ID to purchase your ticket at the gate. Even a copy of your passport is accepted. I, however, had neither.
Having not brought anything that could pass for identification with me, we had a fairly frustrating hour at the gate. Everyone shut me down without ID and the language barrier did nothing to help my situation.
After a sad attempt at some Spanglish (and I’ll admit a few tears) we came across an English-speaking guide who turned our morning around. After basically calling me an idiot, he then admitted that this was not a rare occurrence. He spoke to a staff member, I gave my passport number from memory, and BOOM we paid and were in! What a turnaround.
As far as the cost for entry, Tayrona is relatively pricey. At least by Colombian standards. In reality, it really isn’t at all.
Entry cost us 44,000 COP each which is around $15 USD, although do note that the price changes throughout the year depending when you visit.
Note – cost as off May 2024 65,000 – 80,000 COP.
The same guide who helped me get in also gave us a map of the park along with a brief introduction. We were advised on routes to take, campsites to stay at and most importantly, where you can and cannot swim.
Through the gate we paid 3,000 COP for a mini-van to drive us to a place called Canaveral where many of the trails begin. This fee can be skipped if you want to instead walk up hill for 20-30 minutes. We were happy to pay.
Hiking through Tayrona National Park
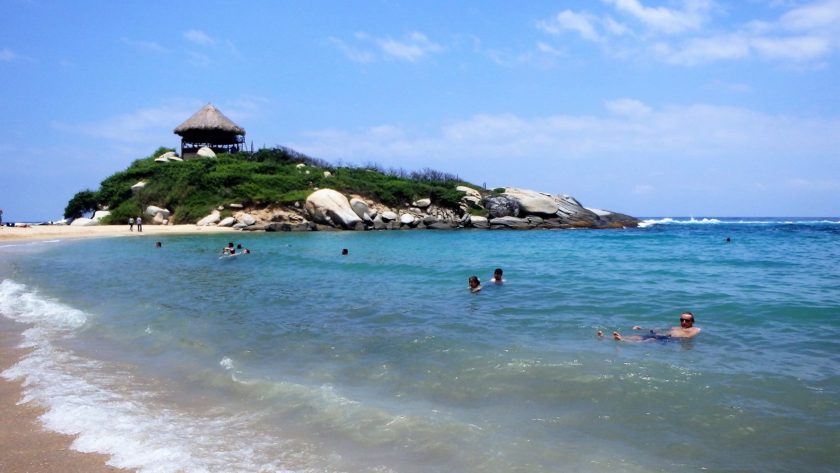
As with the majority of other backpackers, we chose the route down to Cabo San Juan (also known as El Cabo). It’s the most popular site in Tayrona. Not surprising since it offers camping, a safe-to-swim beach and a restaurant.
The 2.5 hour trek to El Cabo was a good challenge, mostly due to the heat. It gets pretty intense in August! There was lots of sweating.
The journey itself though was such an adventure. We hiked along muddy trails through the rainforest as well as rocky and sandy shorelines with plenty of rewarding viewpoints along the way!
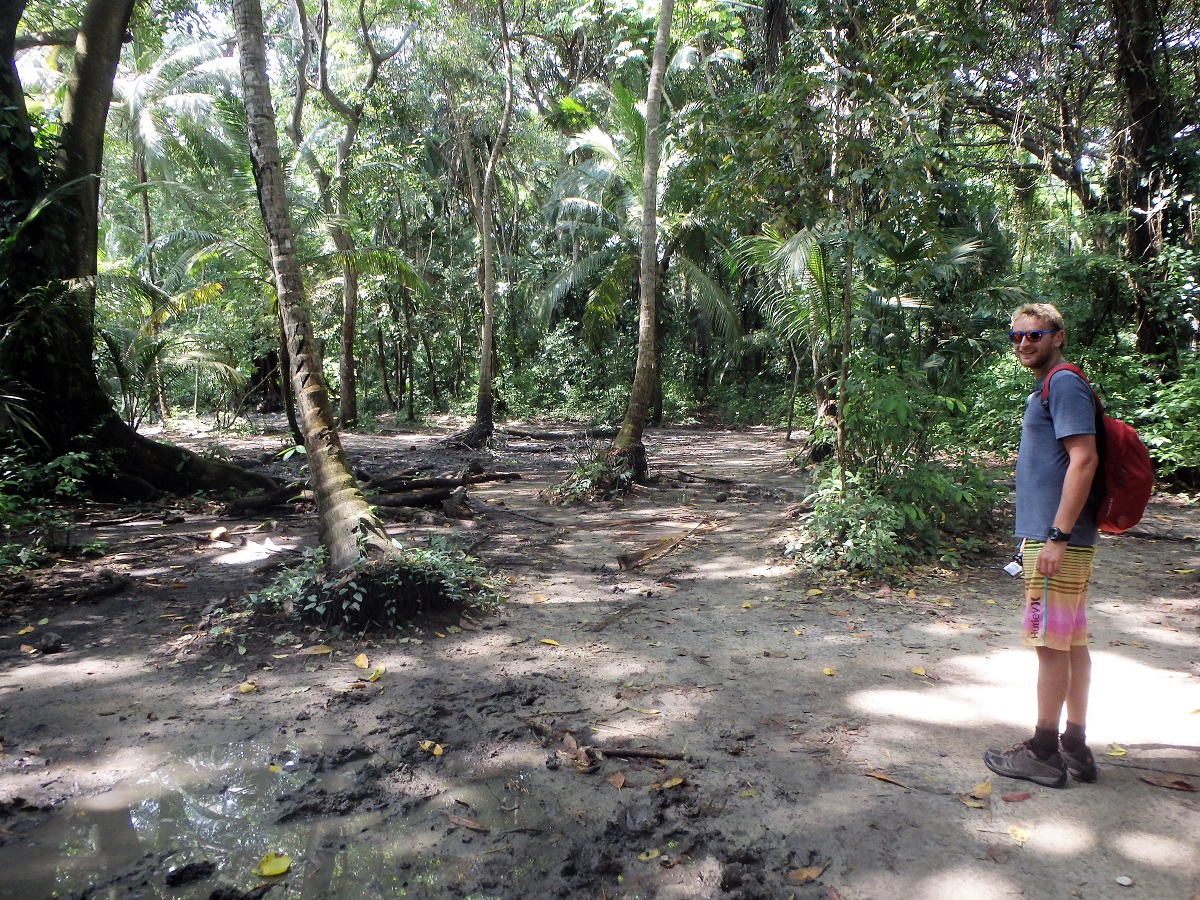
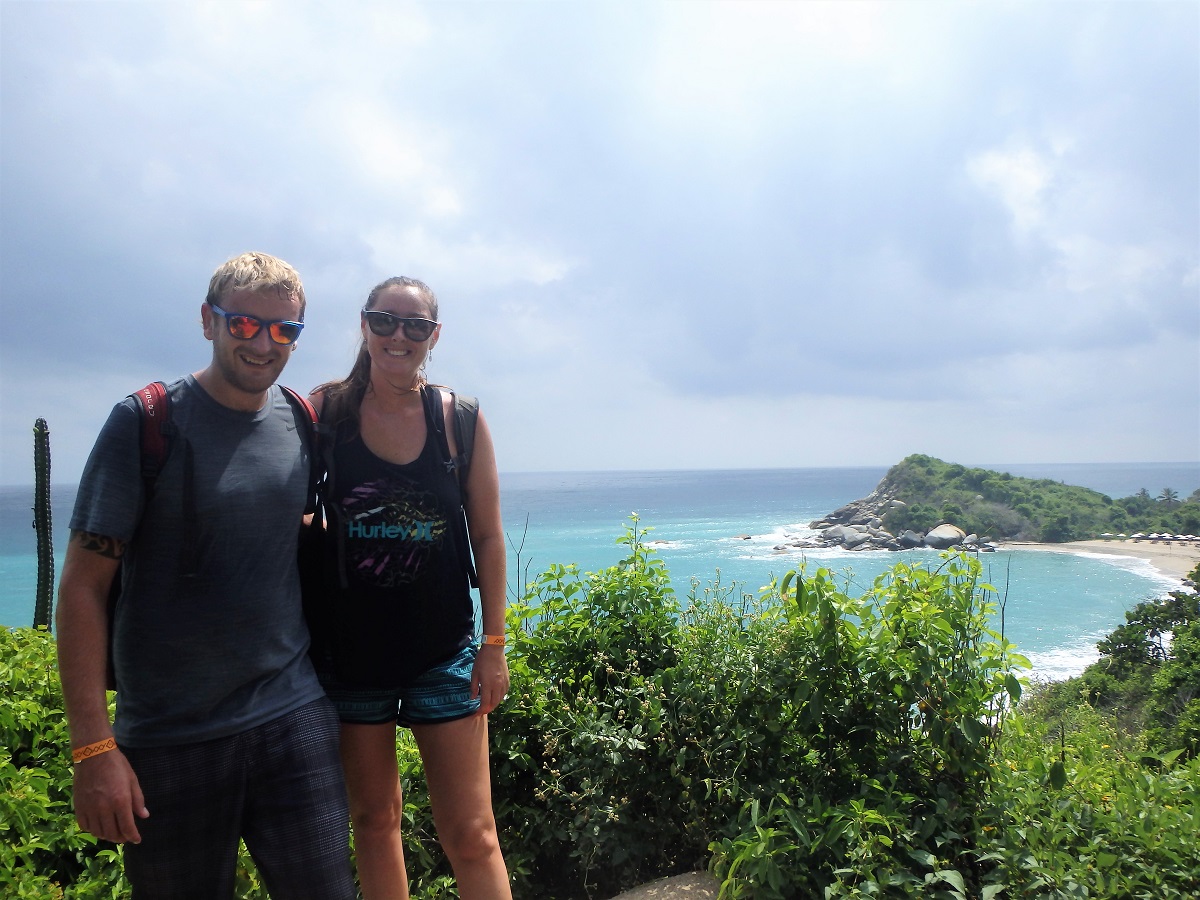
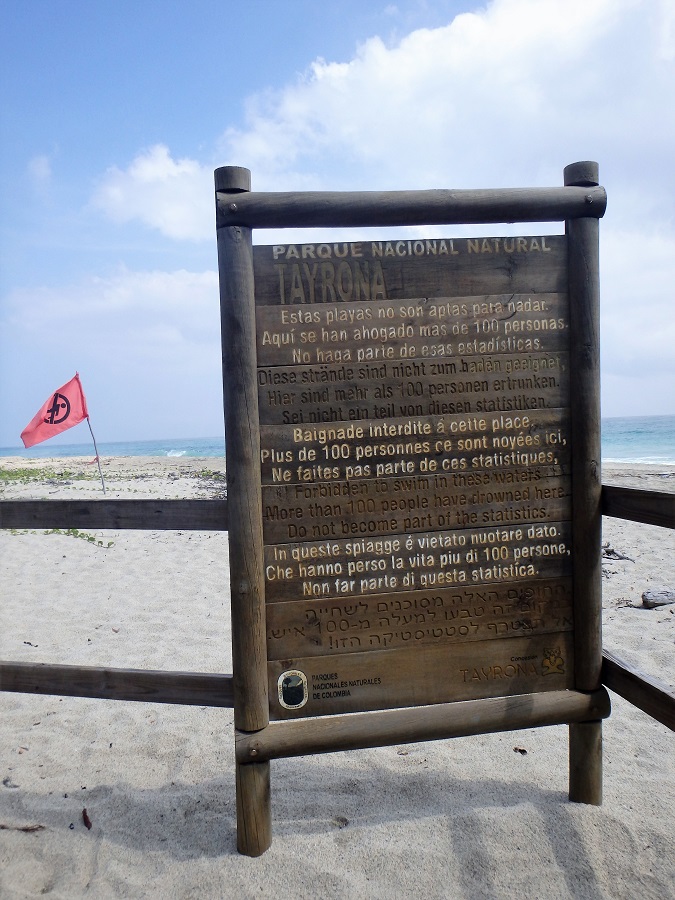
Tayrona also boasts over 30km of coastline with dozens of beaches! While a refreshing dip is very enticing under the summer sun, you are actually only permitted to swim in about 4 of them thanks to dangerous rip currents.
Despite the signs and warnings in place, the ocean still unfortunately claims the lives of many visitors each year.
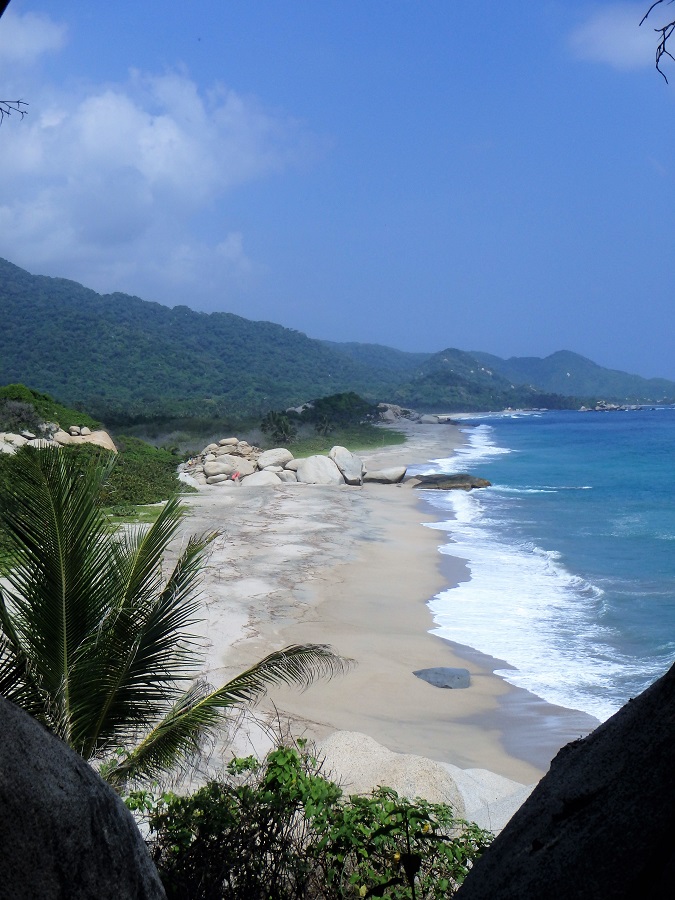
After the tiring walk, El Cabo was such a welcome sight and definitely worth the effort. On the verge of over-heating, the crystal clear waters could not have been more inviting!
Before diving in, we took advantage of the beach-front lockers for storage, bought a well-deserved beer and slipped into relaxation mode.
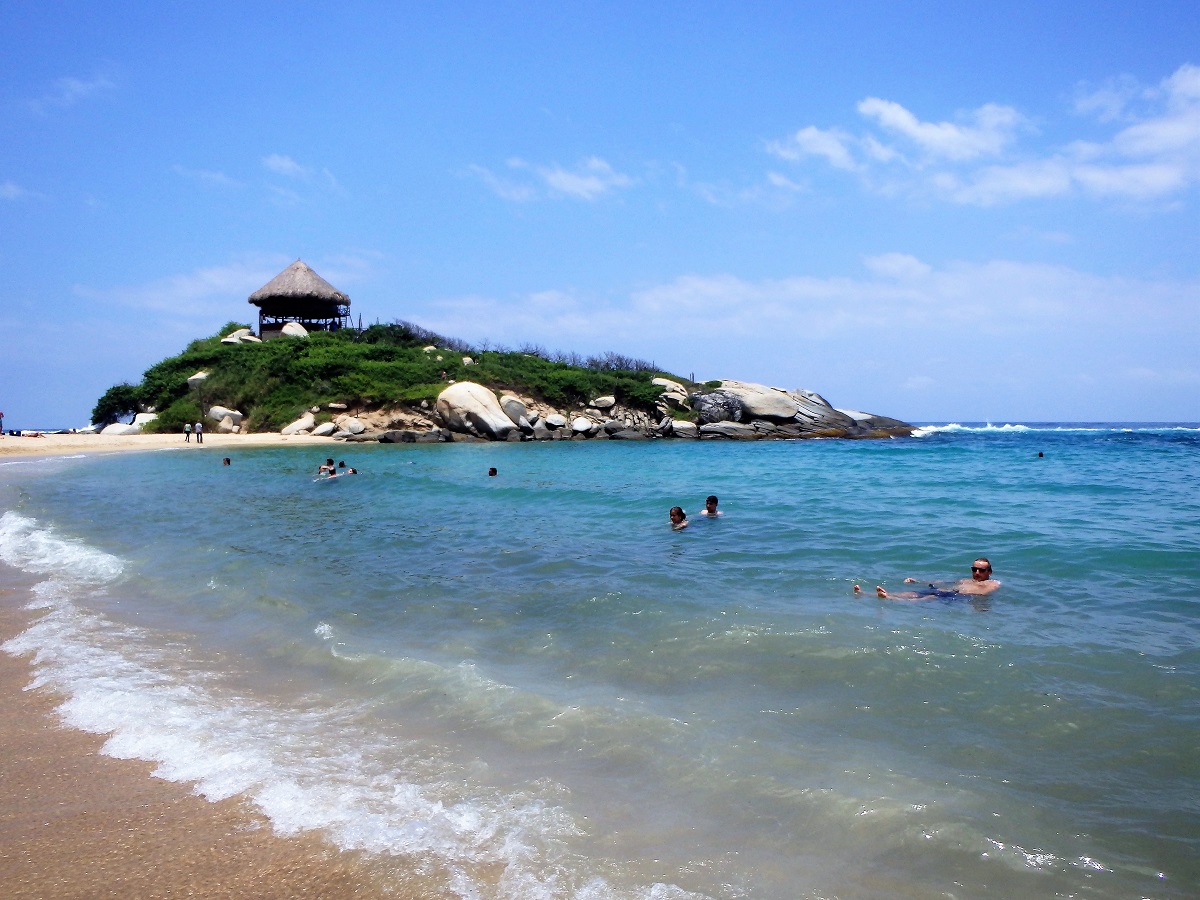
We were surprised how many travellers walked all that way just to return back to Santa Marta that same day. If you’re backpacking all that way we highly recommend staying the night.
Camping in Tayrona National Park
El Cabo has both tents and hammocks available to rent. We booked two hammocks when entering the park (with that English-speaking guide) but these were not assigned until we physically reached San Juan.
Note: Camping at El Cabo cannot be booked in advance and must be booked from within the national park or at the entrance in some cases.
Within the main camping area along the shore are numerous tents and a large tiki hut full of hammocks! This is what we called home for the night.
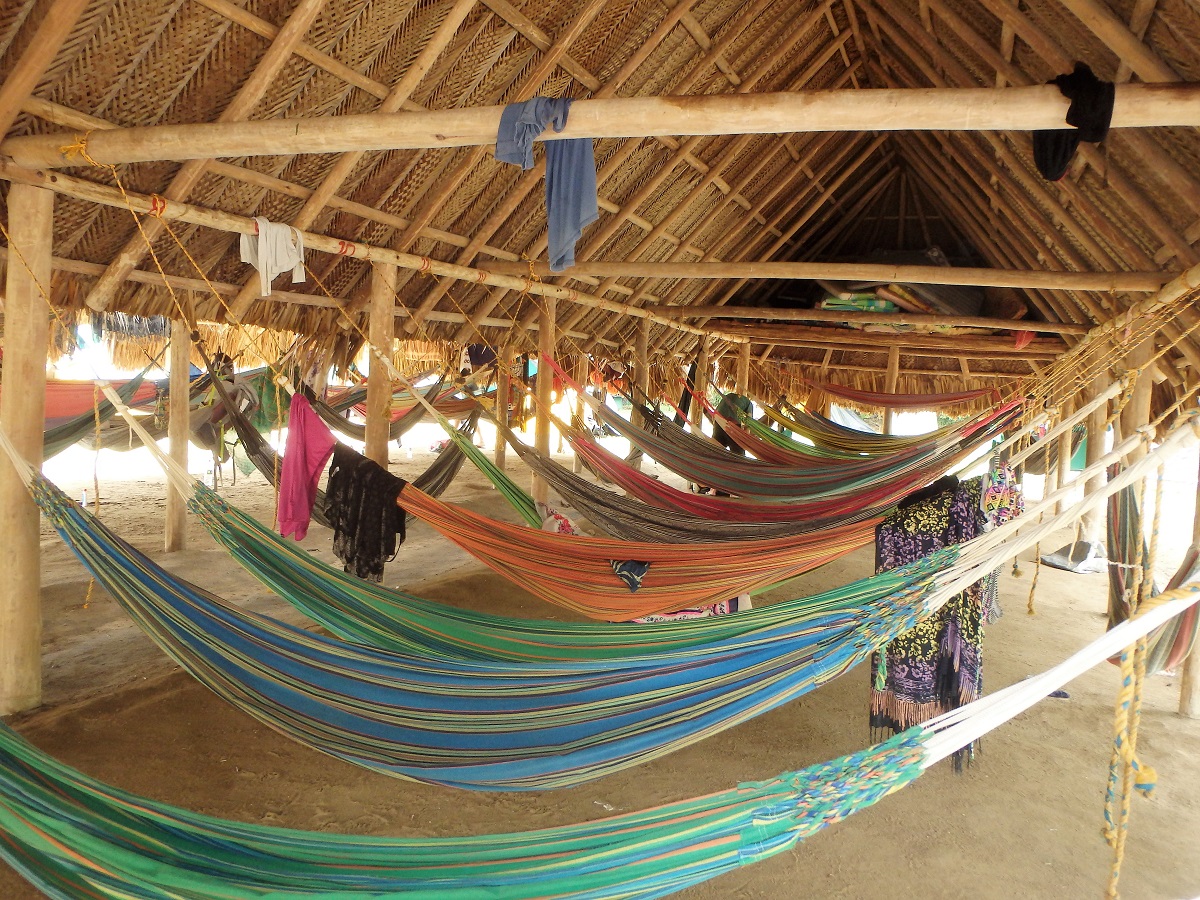
The prized spot however, is the aerial viewpoint up on the cliff which houses just 12 hammocks. You would need to stay at least a second night in El Cabo to secure a spot here as requests are granted on a first-come-first-serve basis.
Even if you don’t nab a spot up there to sleep, you can still wander up to check out the views. They are pretty spectacular.
Ironically, we were lucky the cliff-top hammocks were not an option; by late afternoon, the weather changed dramatically. Gone were the sunny, blue skies and in came the dark clouds and torrential rain. Not to mention some of the loudest, scariest thunder we have ever heard!
We huddled in our hammocks for hours, waiting for the storm to pass. The cliff-top got battered and tents were flooded. All the while we, luckily, remained safe and dry in our hammocks.
An unexpected guest…
Despite the craziness of the storm, the real surprise came after we emerged from our shelters. Floating on the surface of the now not-so-idyllic lagoon was a crocodile! Staff advised that it has happened in the past when storms cause them to get disoriented in the storms.
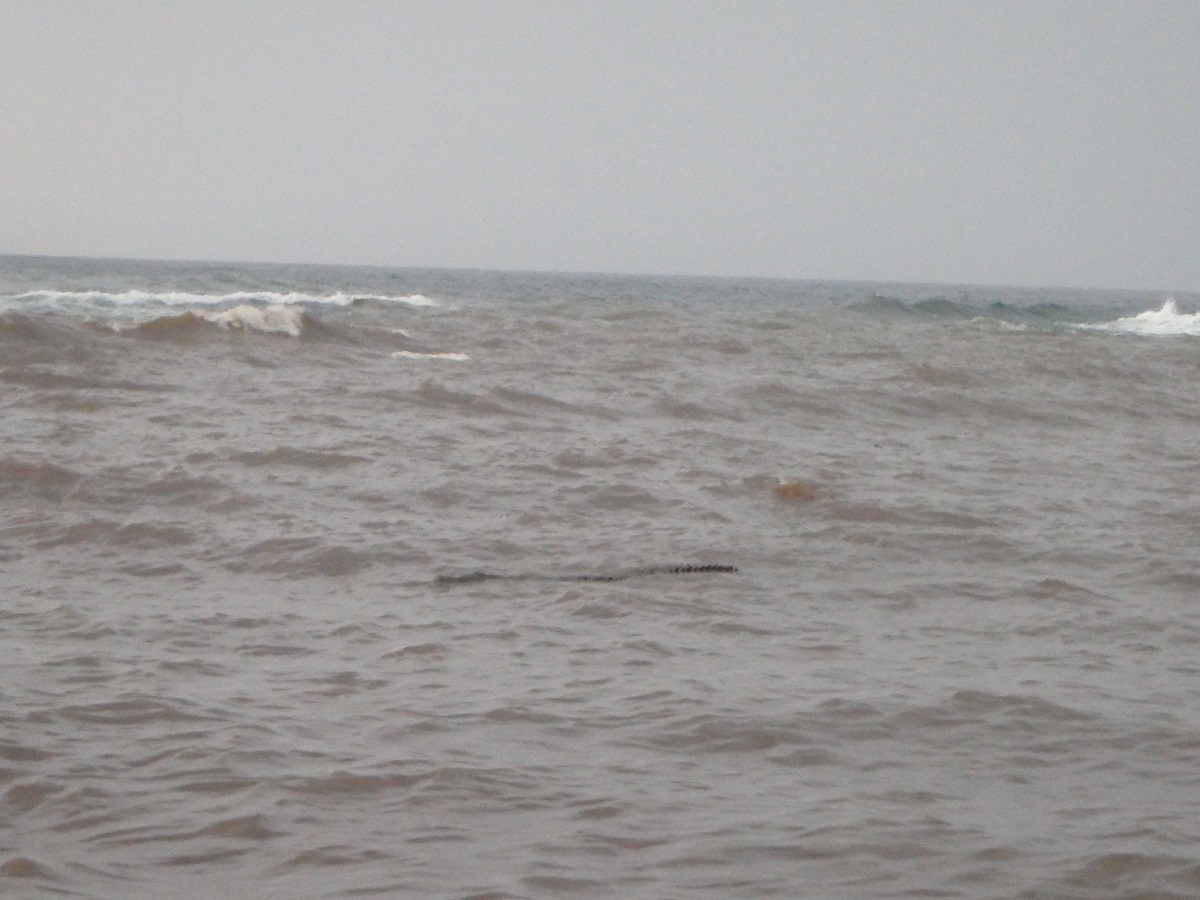
Amazingly, we slept very well in our hammocks. We couldn’t believe the lack of mosquitoes either! The only minor complaint was I got a bit chilly (which apparently means nothing since I’m a wimp for the cold).
Feeling refreshed and full of energy, we decided to stay a second night within the National Park.
More Exploring
Rather than stay at Cabo San Juan we wanted to try for a different campsite further east, recommended by the guide at the park entrance. Armed with a map we set off with our backpacks and not-so-great navigation skills.
We first got a bit lost when we decided to make our own route back to Canaveral. It wasn’t intentional and we don’t know quite how it happened but we figured we couldn’t go wrong following the coast.
However rather than the 2+ hours to get back, we took closer to 3.
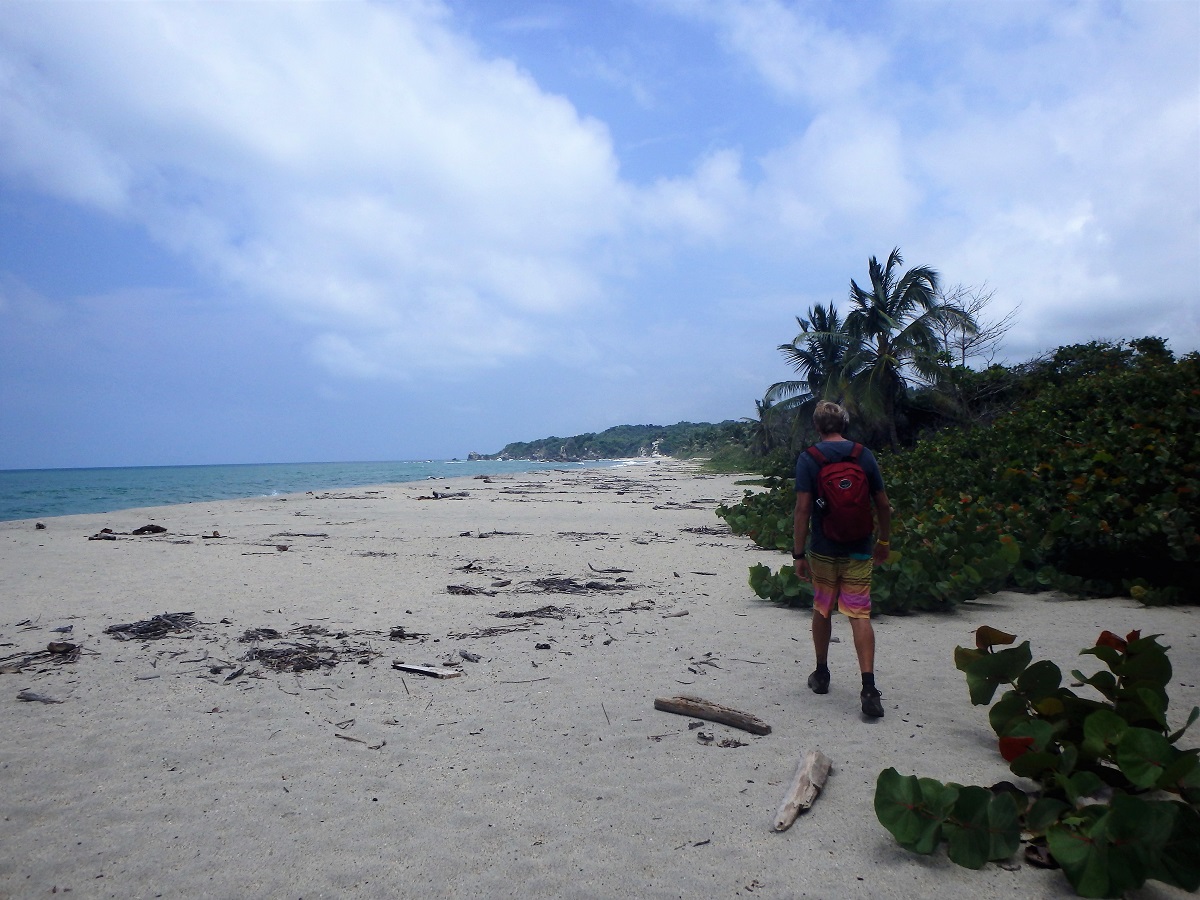
We then somehow got even more lost! There must have been a sign or trail we missed as we again ended up following the coast. We wandered for an additional 2 and a half hours…
Thinking we had the campsite in our sights, it turned out to be a mirador (viewpoint) and a trail of sacred stones which ultimately lead us back to the start at Canaveral. We were so confused!
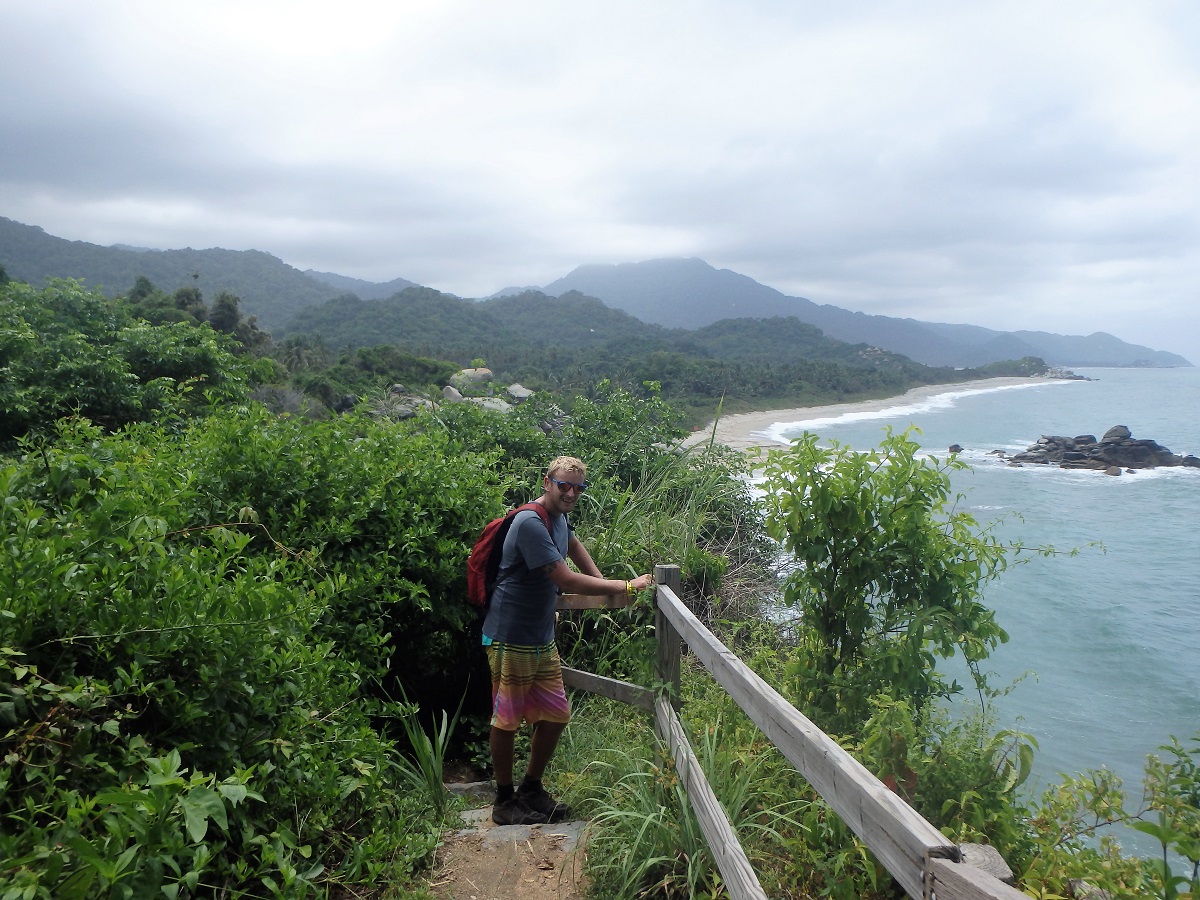
Deflated and exhausted we gave up on finding this mystery campsite.
We didn’t see it as a total let-down though as we had had a fun day getting lost in Tayrona’s wilderness, certainly finding the adventure we had sought. Did I mention we saw monkeys?!
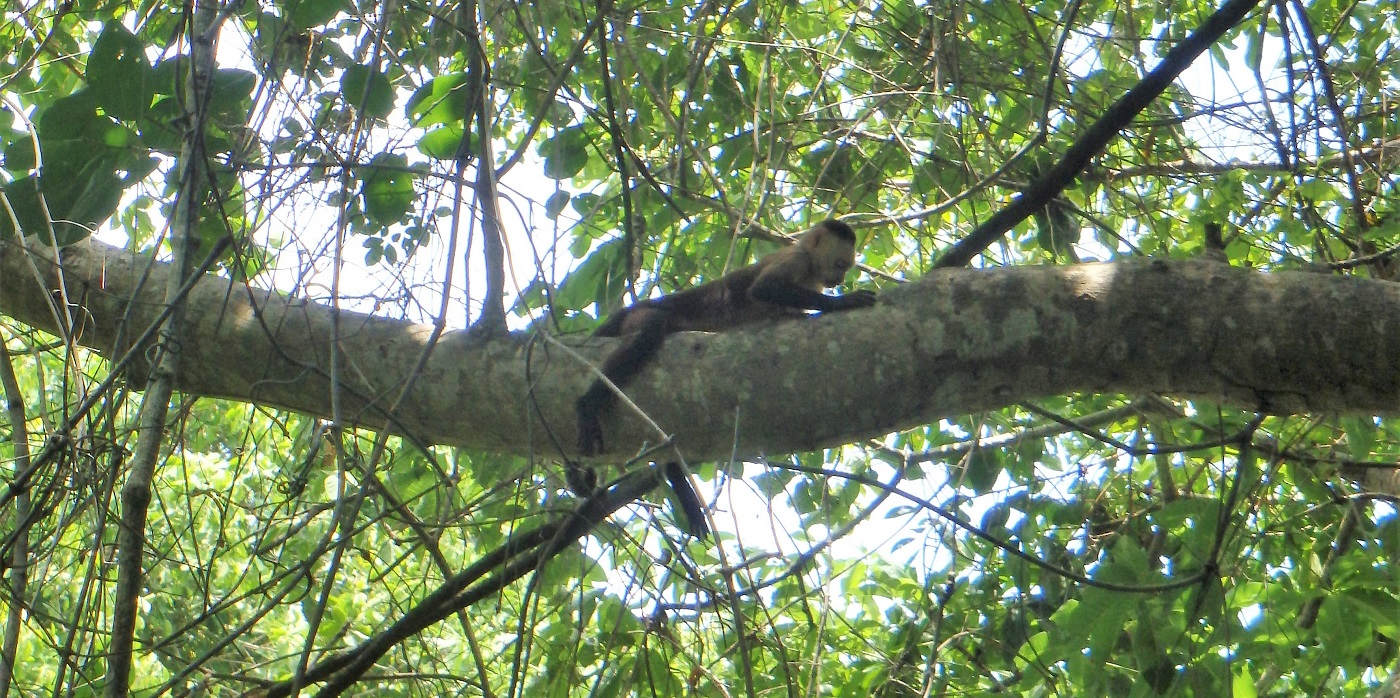
We were more than content when we called it a day, catching one of the last buses back to Santa Marta around 4.30pm. There was a new plan in the works.
Arriving back at our hostel we were able to shower and collect our big backpacks before booking a night bus south to San Gil (seriously stop here also).
What to pack
We stayed in Tayrona for just the one night, although if you want to do 2 or 3 then the provisions shouldn’t be much different.
As noted above, we left our big backpacks in storage at our hostel in Santa Marta and just brought our smaller day backpacks. Much easier for hiking!
Note: Most hostels should not charge a fee for this service.
Below is a list of what we packed and what I would consider essentials for backpacking Tayrona National Park:
-
Hiking boots (obviously for the trek itself)
-
Flip-flops (they barely take up any room in your bag and allow you to ditch your hiking boots once you arrive at the beach)
-
Swimwear
-
Microfibre towel
-
Light, thin clothes for hiking
-
An extra pair of clothes (you can’t really relax in sweaty clothes after hiking)
-
Waterproof jacket (tropical weather means tropical storms!)
-
Bug spray (put this once you arrive at the entrance because sandflies can be a bit of an issue)
-
Suncream
-
Wet wipes (freshen yourself up along the way)
-
Lots of water (stay hydrated!)
-
Money to buy food and drinks within the park (try to bring sandwiches for the first day and a few energy bars/snacks to see you through)
Note: You cannot bring alcohol into Tayrona National Park. Cans of lager can be bought at El Cabo for 5,000 COP each.
A note on Santa Marta
As the gateway to Tayrona National Park, travellers will first need to make the journey to Santa Marta.
We made our way to the city along the north coast from Cartagena. The drive took around 4 hours and cost around 45,000COP ($15 USD) with the bus company Marsol.
This company will actually drop travellers directly at their hostel or hotel, assuming you are staying in the centre of Santa Marta. We were not. It was only another 3,000 COP ($1 USD) for a 5 minute taxi ride from the Marsol office but definitely something to be aware of.
If travelling from the south, there are daily buses coming from San Gil and Bucaramanga. This journey is slightly longer at around 8-10 hours.
All in all, it is surprisingly easy to get to and backpack Tayrona National Park. Just remember to bring your ID and prepare yourself for an awesome adventure.

